We spent an hour snorkeling at Dry Tortugas National Park in late June. My first time peering underwater with a snorkel in the Gulf of Mexico will be something that I never forget. It was a pretty magical place with plenty of coral and fish to witness as you explore. As you will see, we got some great pictures too while Dry Tortugas snorkeling!
If you take the Yankee Freedom III to the park, you have about 4 hours on the island. After orienting ourselves to Garden Key, lunch, bird watching and touring Fort Jefferson, we had about an hour to spend in the water. The boat provides the mask and fins for everyone that wants them. All you need to do is bring yourself, a willingness to learn and sign the waiver that releases them from liability. If you bring your own gear, then you don’t need to sign the waiver.
Although I had never been snorkeling before, we watched a short video on the ferry ride over. It taught us how to put on the mask, ensure that it fits properly by creating a seal, and blow any water out that gets in the snorkel. Although we would highly encourage anyone to learn before you get to the Dry Tortugas, we wouldn’t discourage anyone from going simply because it would be your first time. I was able to learn pretty quickly and although I wasn’t an expert by the end, we still had a great time.
One important thing to remember while you are swimming is that you can’t touch the coral. Simply touching the coral can bring about the death of the entire colony. The oils from your skin can do some damage even if you don’t come in direct contact with the fragile structures. If you aren’t experienced, you may be tempted to stand up when you get tired or when water gets in your mask. Don’t! Either rise to the surface carefully and release the water before returning your mask or rest by floating on your back. They are beautiful – so please don’t touch them.
Another thing to remember is that the sun will be beating down on your back in the water when you are snorkeling, so be sure to apply plenty of sunscreen. We had been careful to apply sunscreen and still ended up with some pretty bad, but small sunburns in places that we missed or didn’t apply enough to (even an hour in the water rinsed off enough to do some damage). If you don’t apply adequate sunscreen, you will definitely regret it when you are at dinner in Key West in the evening.
If you are heading to the Dry Tortugas for snorkeling for the first time, you may be wondering where the best places to go are around Garden Key. There are two beaches where you want to enter the water. We chose the South Swim Beach. When you exit the ferry, it is to the left past the campground. When you get to part where your only options are to take the moat wall or turn left and go to the sandy beach, make the left.
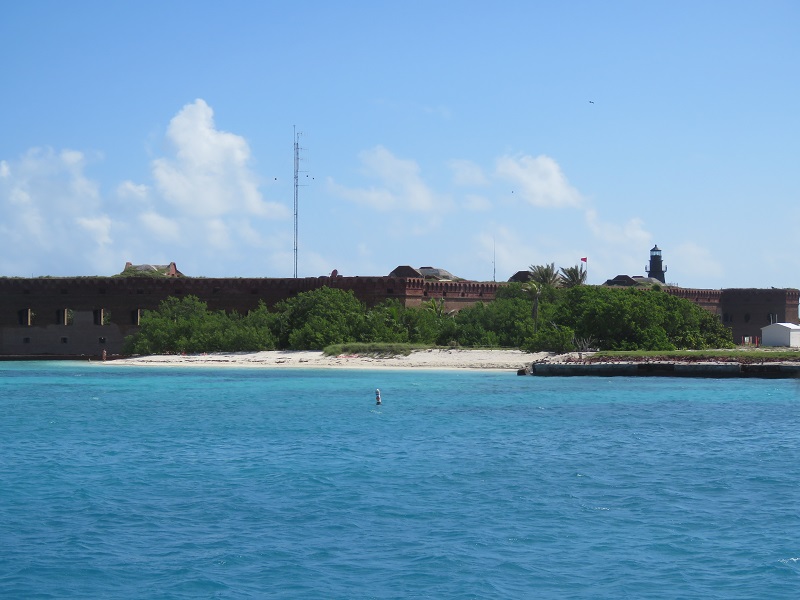
This is the South Swim Beach as seen from the Yankee Freedom III a few minutes before docking.
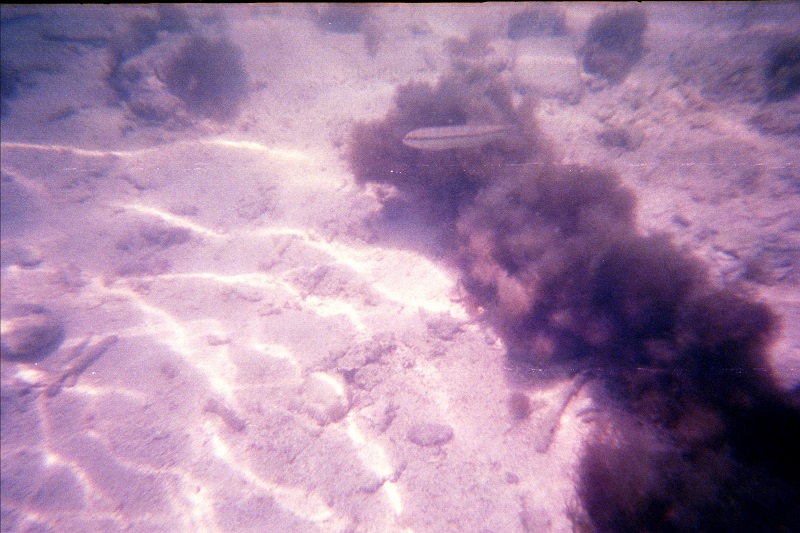
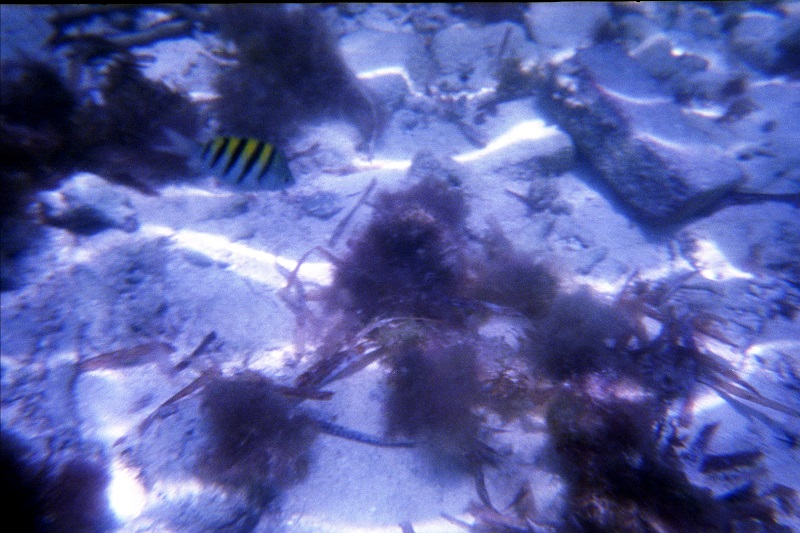
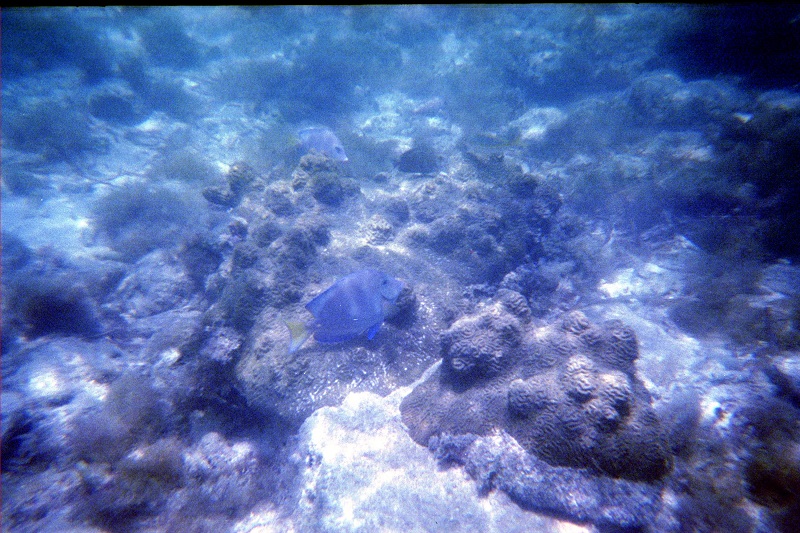
Below is one of the fish that we saw off the beach while we were snorkeling. There were a few more colorful ones in the beach area, but we didn’t get great pictures of them.
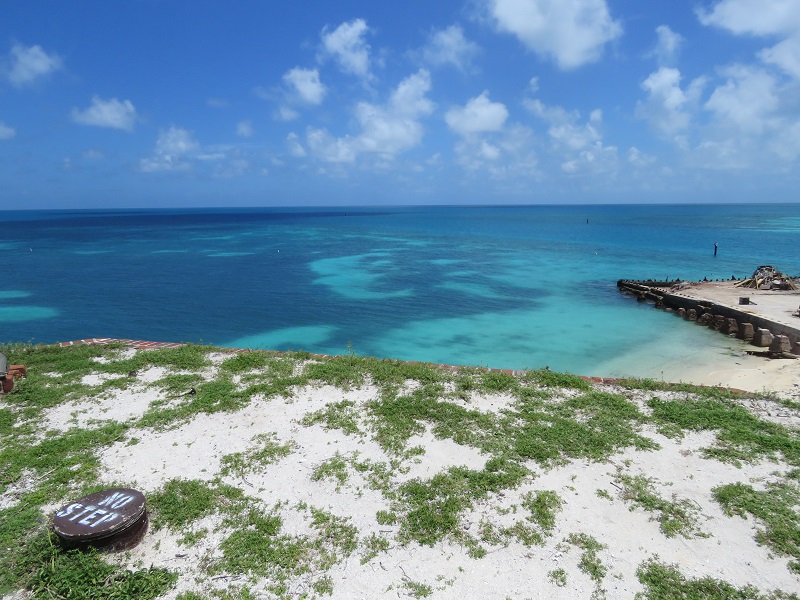
The North Swim Beach is reached by following the moat wall in the other direction. If you head right from the ferry and follow the moat wall, you will reach the north beach in about a 1/4 mile. We didn’t snorkel off this area so I can’t really tell you much about the surroundings. It was definitely smaller and less popular than the South Beach. The picture shows the beach in the lower right corner although it is somewhat larger in real life (since we did not want to fall off the edge of the Fort to capture the picture)
There are basically two areas where you don’t want to go. The first is rather obvious. You don’t want to snorkel anywhere near the Yankee Freedom III and the functioning dock. This area is off limits, and is bordered on either side by the remnants of the North and South coaling docks. The second area is the moat. No snorkeling is permitted inside the outer wall that rings Fort Jefferson.
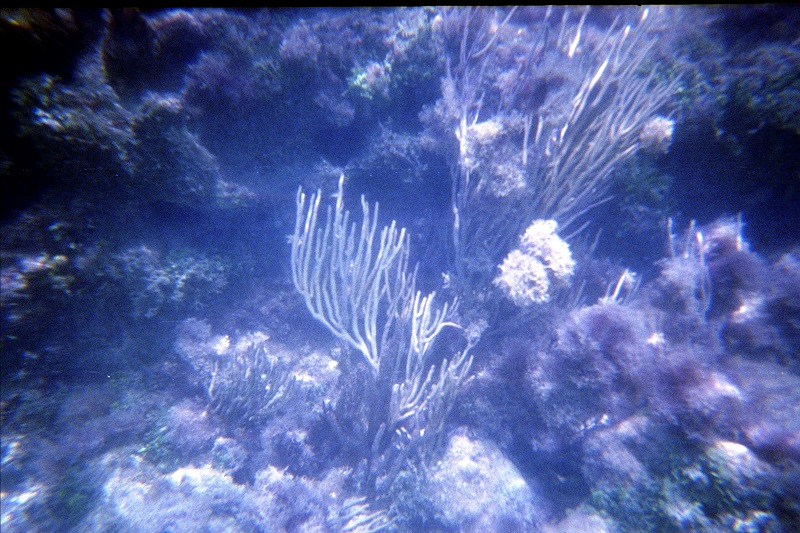
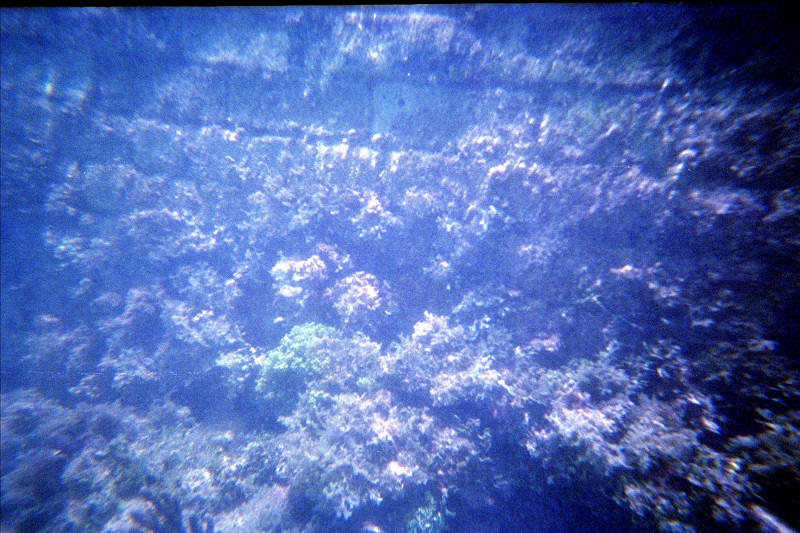
After we finished learning how to snorkel and took a brief out and back swim off the south beach area, we decided to swim along the moat wall. Although we did see a few small fish in the beach area, along the moat wall was where we saw most of the fish and colorful coral. The one tradeoff was that there are plenty of other people swimming along the moat wall and you definitely have to be careful not to run into them while you are staring down at the fish and coral. Below is a photo of the moat wall.
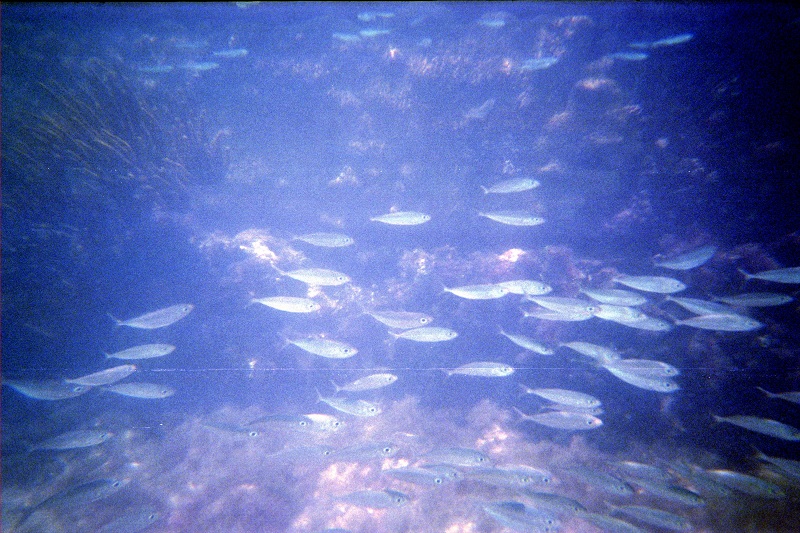
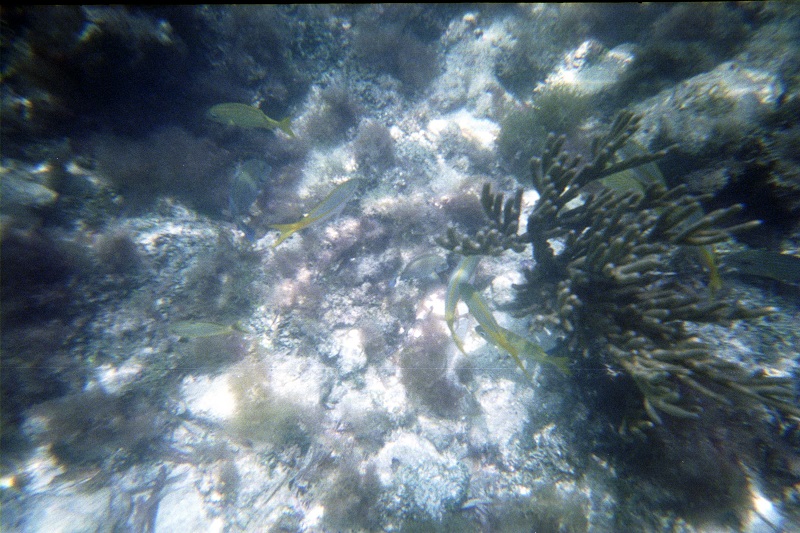
This is one of the schools of fish that we swam with and were able to capture a clear picture. It was so cool to be totally surrounded by fish and swim with them.
The two other areas where you might want to check out are the North Coaling Dock Ruins and the South Coaling Dock Ruins. You will see the South Coaling Dock Ruins on your way in on the Yankee Freedom III. You pass right by them and (at least when we were there) there were lots of pelicans and other birds sitting on the old posts that once made up the dock. We heard they were also good areas, but given our lack of experience and time on the island, we just didn’t get to them.
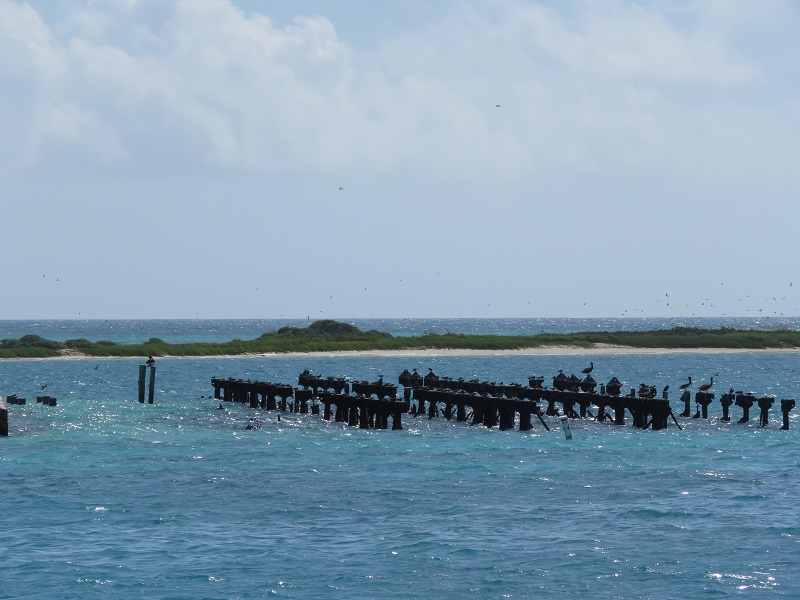
(These are the south coaling dock ruins.)
We brought a waterproof bag for a phone which enabled us to have an idea of what time it was in the water. When it hit 2 PM, we started to head back to the beach. We didn’t want to get left on the island. The boat leaves sharply at 2:45 pm. The 45 minutes gave us plenty of time to make it back to shore, turn in our gear, rinse off first at the saltwater hoses and then the freshwater showers on the back of the Yankee Freedom III, plus change in the (slightly crowded at the time) changing area, and grab a seat on the ferry.
We bought the camera (which took the pictures that you see here) on the boat. It ended up costing us $20 for the camera and $17 to have the photos printed. If we had known that it would cost us nearly $40 to get 30 pictures, we probably would have just gone ahead and bought a waterproof digital camera. But we had never tried to take photos underwater before. It did end up with a few good shots as you can see. They just don’t compare to the photos that we got on the rest of the trip. On the underwater camera, you really just hold it in the general direction of what you want to take a picture of – you can’t see through the viewfinder with the mask on. We tried alternatively to take pictures from the cell phone in the waterproof bag, but it simply proved too hard to operate and swim at the same time. We will definitely be exploring other options the next time we are going to be underwater. If you do the math and think buying a disposal camera is your best option, then buy one at Amazon or elsewhere in advance. It will offer you a much better discount (if you are a Prime member) then buying it on the boat.
The disposal camera worked in a pinch though. We captured the memories that we hoped to during that hour:
We’re definitely going back to Dry Tortugas National Park and spend more than a day there. Not only are the sunrises and sunsets supposed to be beautiful, but we are really excited about spending some more time snorkeling after everyone who has made the day trip has left. We’ll have more photos for you when we do.